Physical Address
304 North Cardinal St.
Dorchester Center, MA 02124
Physical Address
304 North Cardinal St.
Dorchester Center, MA 02124

Let me set the scene. I had just finished demoing a builder-grade tub surround that had started to discolor behind the caulk line. The grout was cracking, and no amount of scrubbing could fix the stained, porous surface. I needed a replacement that would not trap moisture, that could take the daily abuse of a family bathroom, and that looked like something I would not be embarrassed to show guests. A friend mentioned solid-surface panels, and after a few evenings of research, I landed on the LarWorks Shower Wall Panels Surround Kit in Carrara White. My honest LarWorks shower wall panels review will tell you exactly what I found after installing and living with it for three months. This is not a first-impression piece; it is what you get when the newness wears off and the shower is just your shower.
Disclosure: Some links in this article are affiliate links. We may earn a commission if you buy through them. This does not influence our findings or recommendations.
I ordered the kit from Amazon where I found the LarWorks kit and waited. My previous experience with a DIY saw setup taught me that preparation matters more than the product itself. But this time, I wanted to see if the panels lived up to the claims.
The short answer on LarWorks Shower Wall Panels Surround Kit
| Tested for | 3 months of daily use in a master shower after a weekend DIY installation. |
| Best suited to | Homeowners who want a seamless, low-maintenance shower surround without the cost of real marble or the upkeep of tile. |
| Not suited to | Anyone expecting a cheap liner or a product that installs in two hours with zero cutting experience. |
| Price at review | 999USD |
| Would I buy it again | Yes, but only if I were confident in my measuring abilities or had a pro do the cutouts. |
Full reasoning below. Or check the current price here if you have already decided.
This LarWorks shower wall panels review starts with clarity. The product is a 3-piece solid-surface shower wall surround kit, sized 96 inches tall by 60 inches wide by 36 inches deep. It is designed to cover three walls of a tub alcove or shower stall with a single back panel and two side panels that bond edge-to-edge. The material is a non-porous composite similar to what you find in high-end solid-surface countertops, not a thin PVC sheet or acrylic liner.
It is not a drop-in solution. You cannot just glue it over old tile and call it done. The manufacturer LarWorks specifies installation over prepared drywall or backer board, and you will need to cut the panels for plumbing and custom fit. It also is not a full wall panel system for steam showers—the panels have a high gloss, but they are not rated for steam enclosures unless you seal the joints perfectly. In the market, this sits at the premium end of DIY-friendly surrounds, competing directly with brands like Bath Planet and OVE Decors but at a slightly lower price point for the solid-surface category.
My first thought after reading the specs: this is a heavyweight product. The panels weigh about 100 kg total, which means they are not flimsy. That weight translates to durability, but it also means you absolutely need a helper during installation.
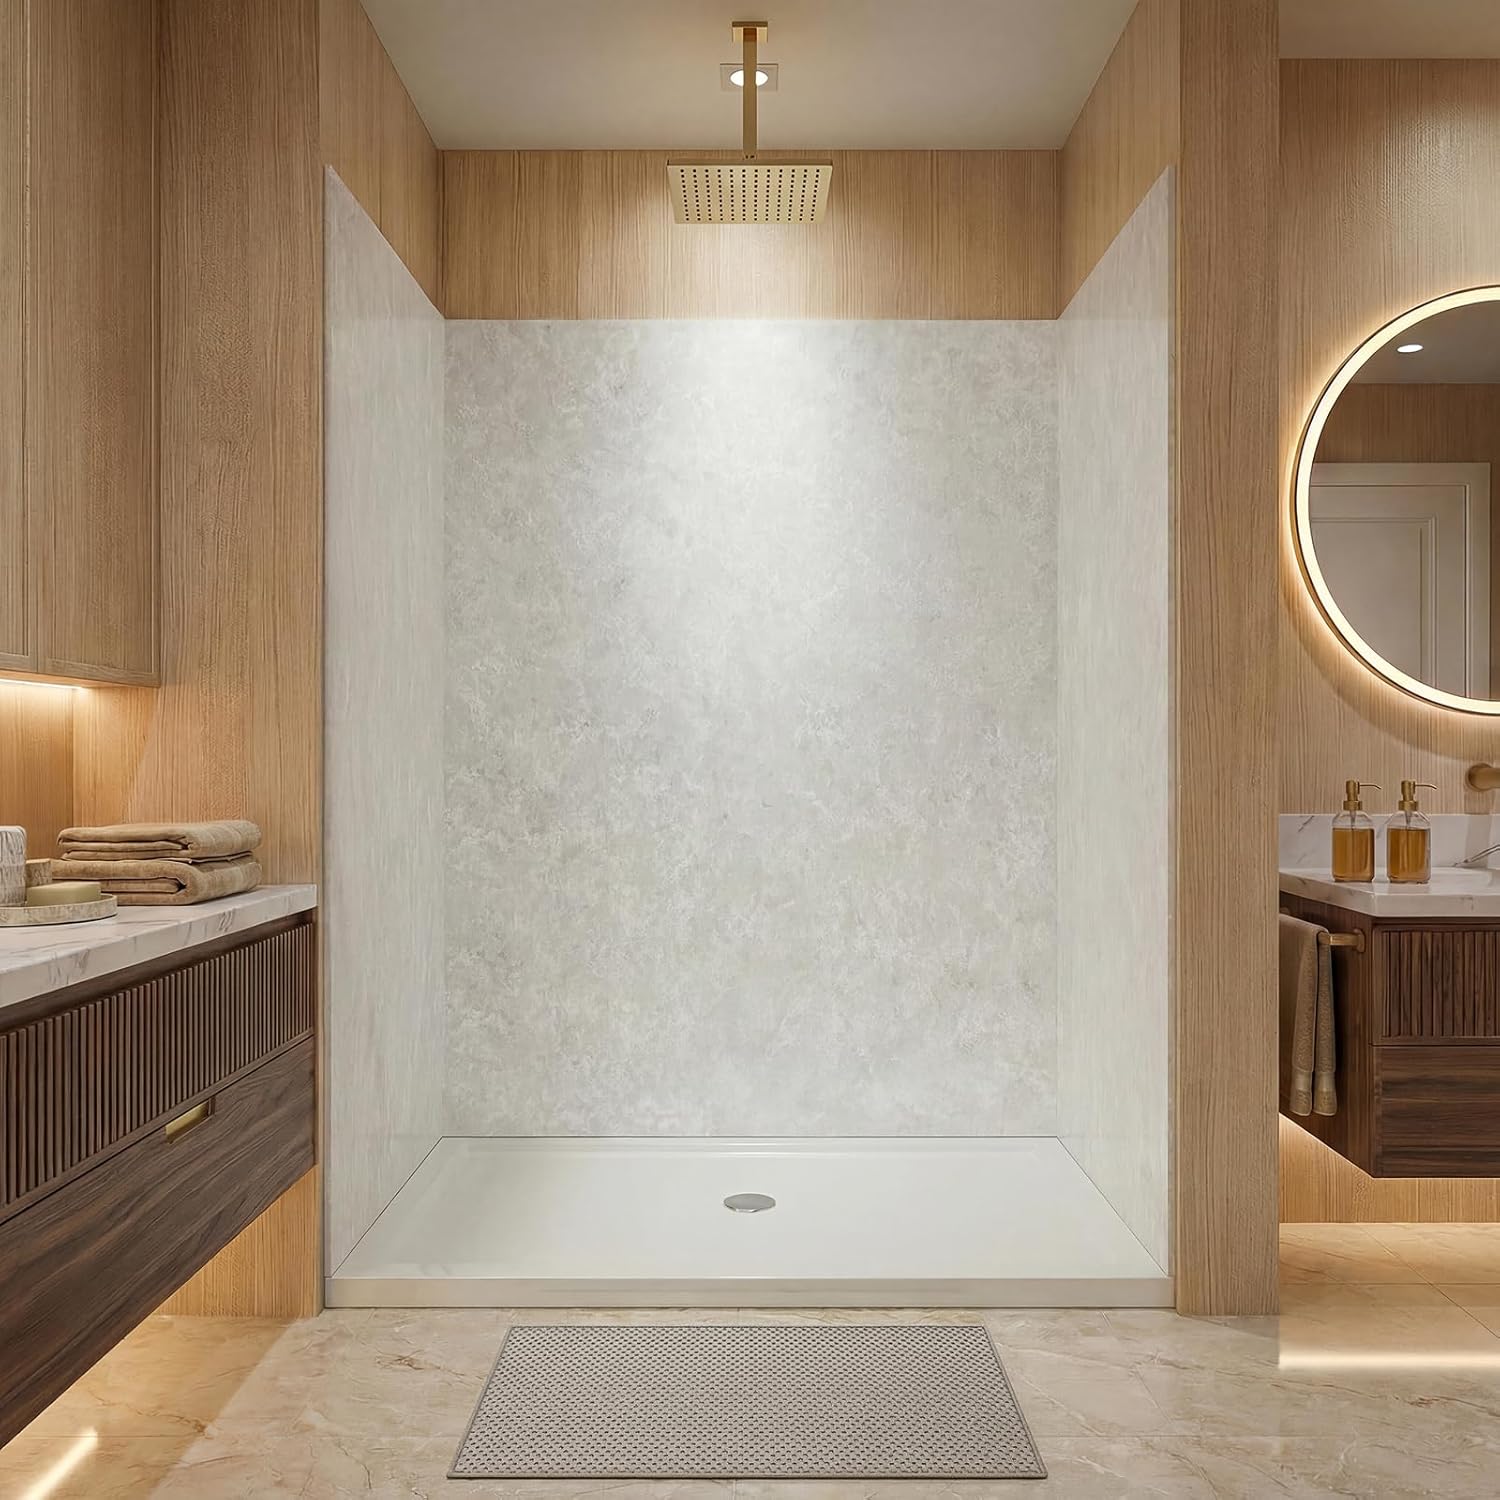
The box arrived on a pallet. Inside were three large panels, each wrapped in heavy plastic and separated by foam sheets. Included: the back panel (36×96), left and right panels (each 12×96), a small tube of seam adhesive, and a simple instruction sheet. No corner trims, no sealant for the bottom edge, no caulking guide. For a $999 product, I expected a bit more in the way of installation aids—a recommended adhesive list or a caulk color match, for example.
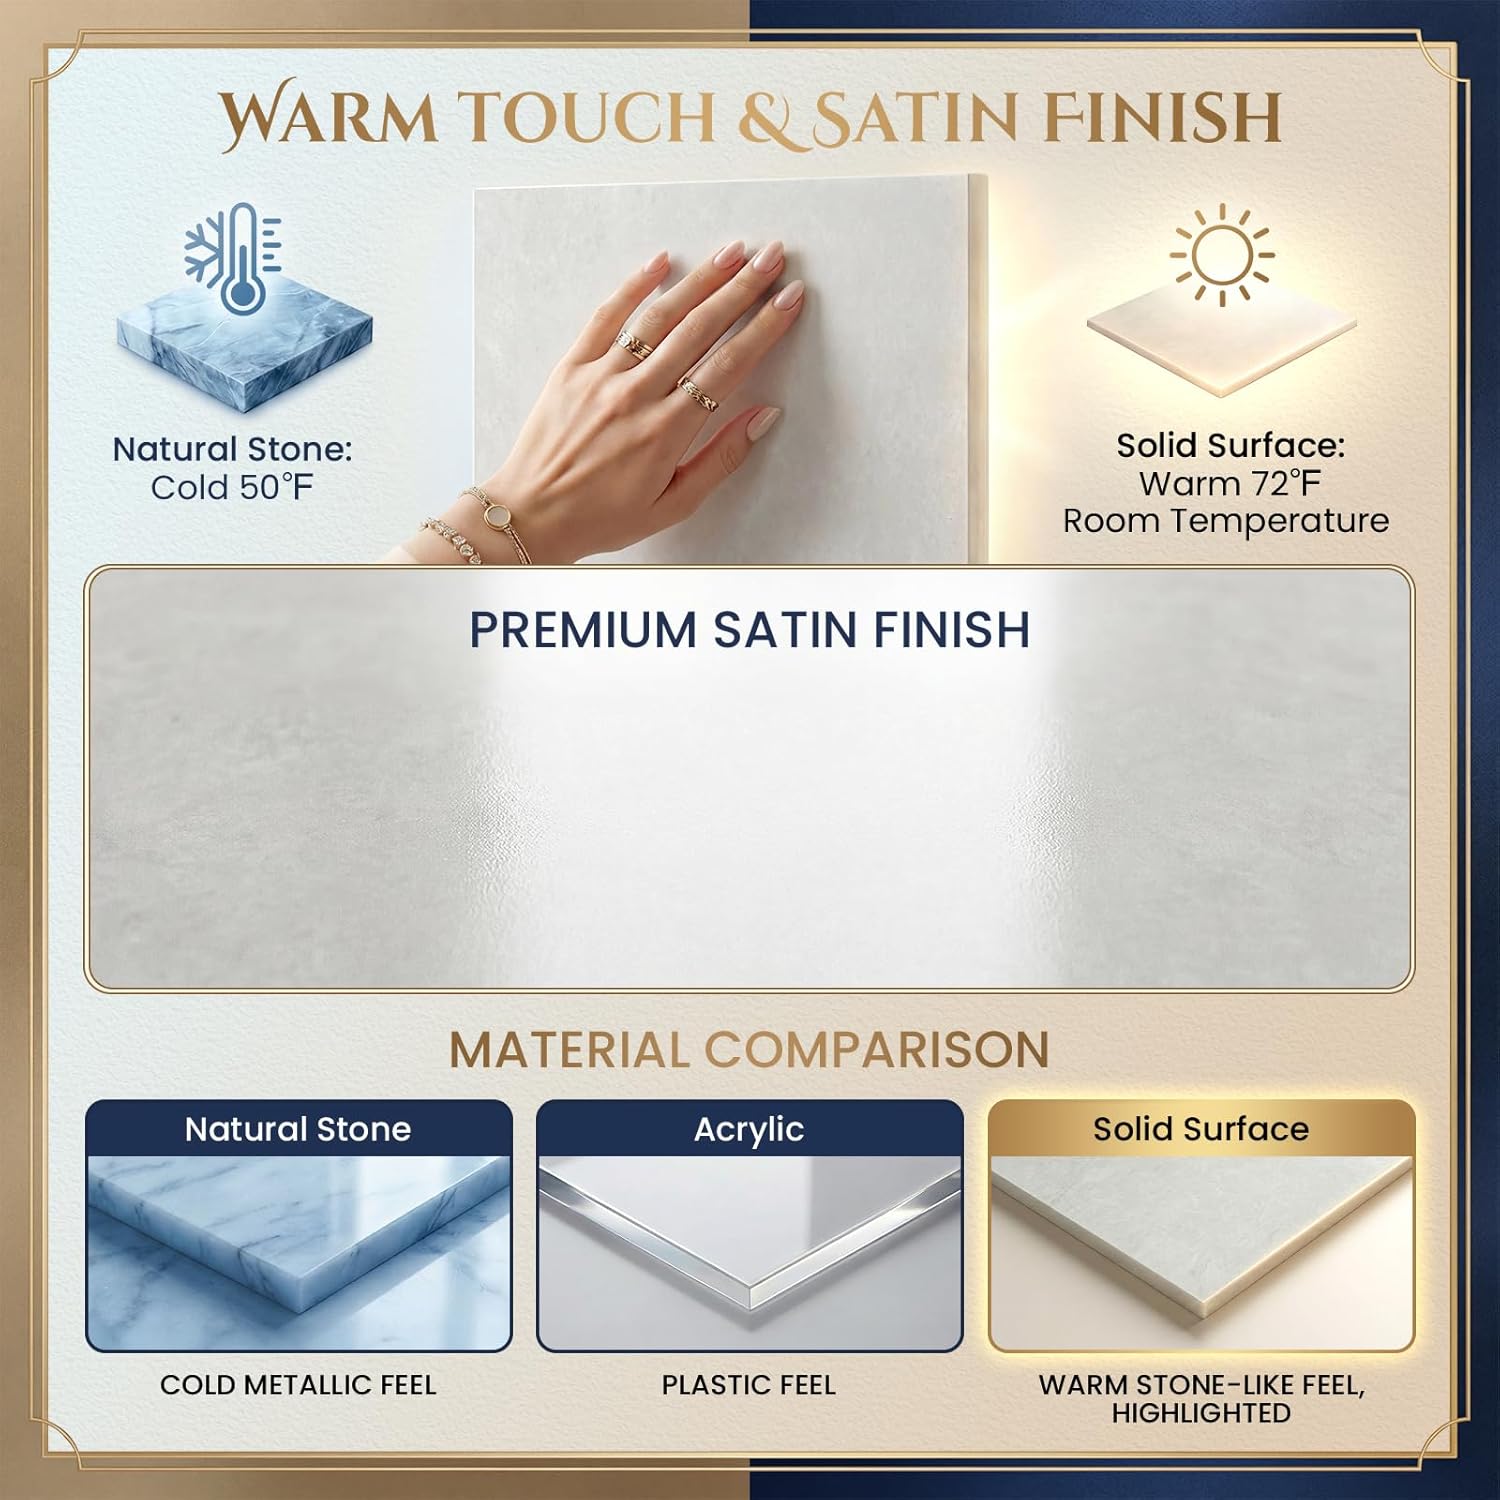
First physical impression: the surface is smooth and cold to the touch, with a high-gloss finish that reflects light well. The back of each panel has a textured surface for bonding. The edges are straight and true, but there is a thin protective film that must be removed before installation. The Carrara white color is consistent on all three pieces, but I noticed a faint seam where two panels met even before cutting—the joint design is meant to be invisible with proper adhesive, but it relies on perfect alignment.
You will need to buy separately: a construction adhesive (PL Premium or similar), a notched trowel, a circular saw with a fine-tooth blade or a jigsaw, clamps, and silicone caulk. If you are doing this on your own, add a helper to your list.
I cleared the bathroom, removed the old surround down to the studs, and installed new cement backer board. That took a day. The actual panel installation took most of a Saturday—about six hours including layout, cutting, and dry-fitting. The instruction sheet is sparse; I had to watch a few online videos to confirm the adhesive pattern. The panels are large and unwieldy; moving the back panel into position required two people. My prior experience with leveling tools helped me ensure the surfaces were plumb.
Cutting the panels is the hardest part. The composite is dense but sands well. I made my first cut with a circular saw—it produced a lot of dust and a clean edge. But when I cut a hole for the shower valve, I misjudged the depth and had to patch with leftover material. That patch job is visible if you look closely. If you are not comfortable with measuring and cutting stone-like materials, the learning curve is moderate to steep. Expect to waste at least a few inches of material on practice cuts.
After bonding the panels and wiping off excess adhesive, I let it cure for 24 hours. The first shower was a relief: no water behind the panels, no weird smells. The surface stayed dry and wiped clean easily. However, I noticed a slight line where the side panel met the back panel—not a gap, but a hairline seam that caught soap scum after a week. That taught me that the seam adhesive must be applied evenly and wiped clean immediately. The initial result looked 90% professional, but the missing 10% comes from attention to detail during the bond.
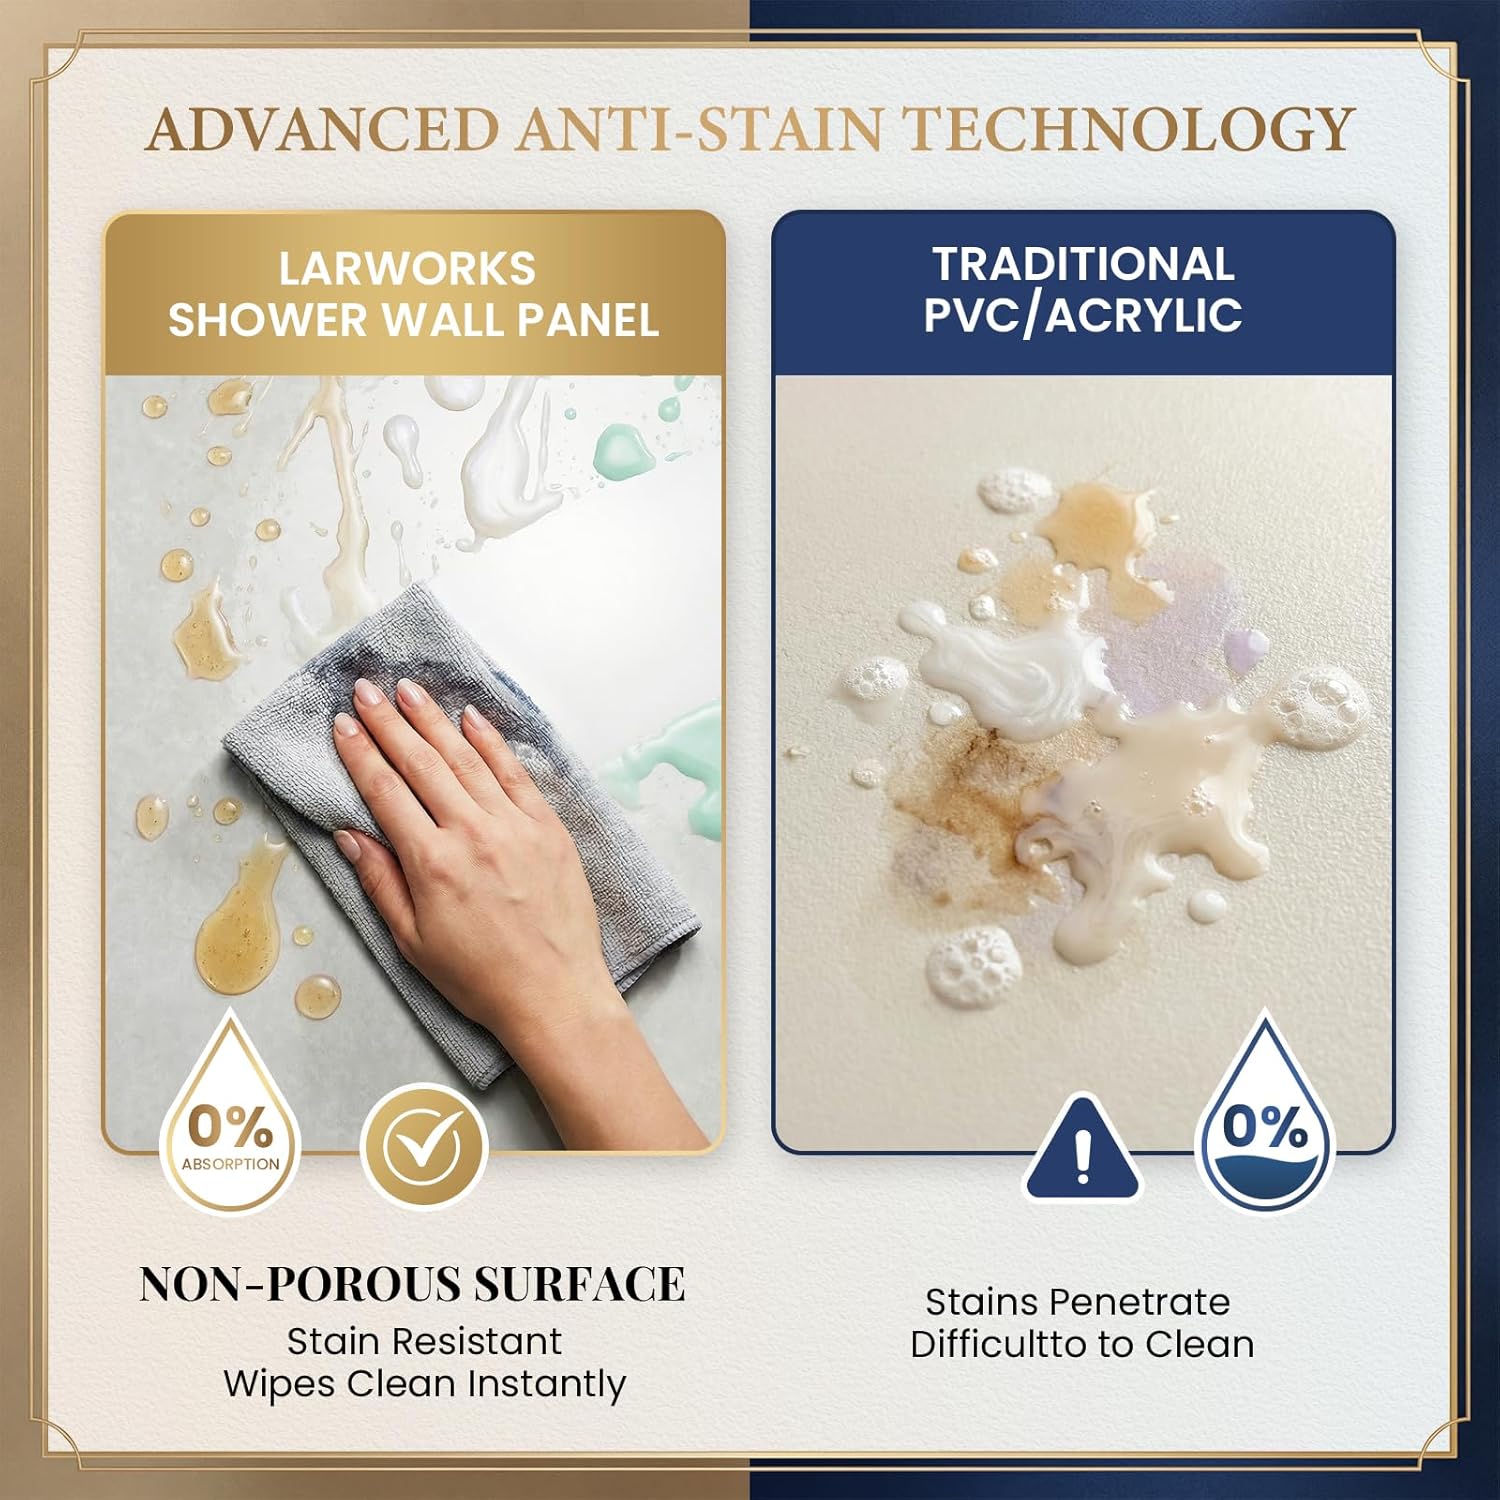
I learned how to clean the panels efficiently. A soft microfiber cloth and mild dish soap restore the gloss without streaks. The surface does not stain from hard water or shampoo residue the way grout does. After three months, the high gloss remains, and minor scratches from dropped bottles have not appeared—the material is surprisingly resilient.
The seamless look holds up if you got the bond right. No swelling, no peeling at the edges. The panels feel solid when you lean against them; there is no flex or hollow sound. The color has not yellowed, and the finish still reflects light evenly.
First: you need to support the panels from below during curing. The instructions do not mention that the bottom edge should rest on a bead of silicone to prevent movement. I used shims, but a small gap developed under the back panel that collected water. I had to caulk it later. Second: the seam adhesive bonds very quickly—you have about 10 minutes to position the second panel perfectly. Third: the protective film leaves a residue if left on too long; remove it as soon as the panels are positioned.
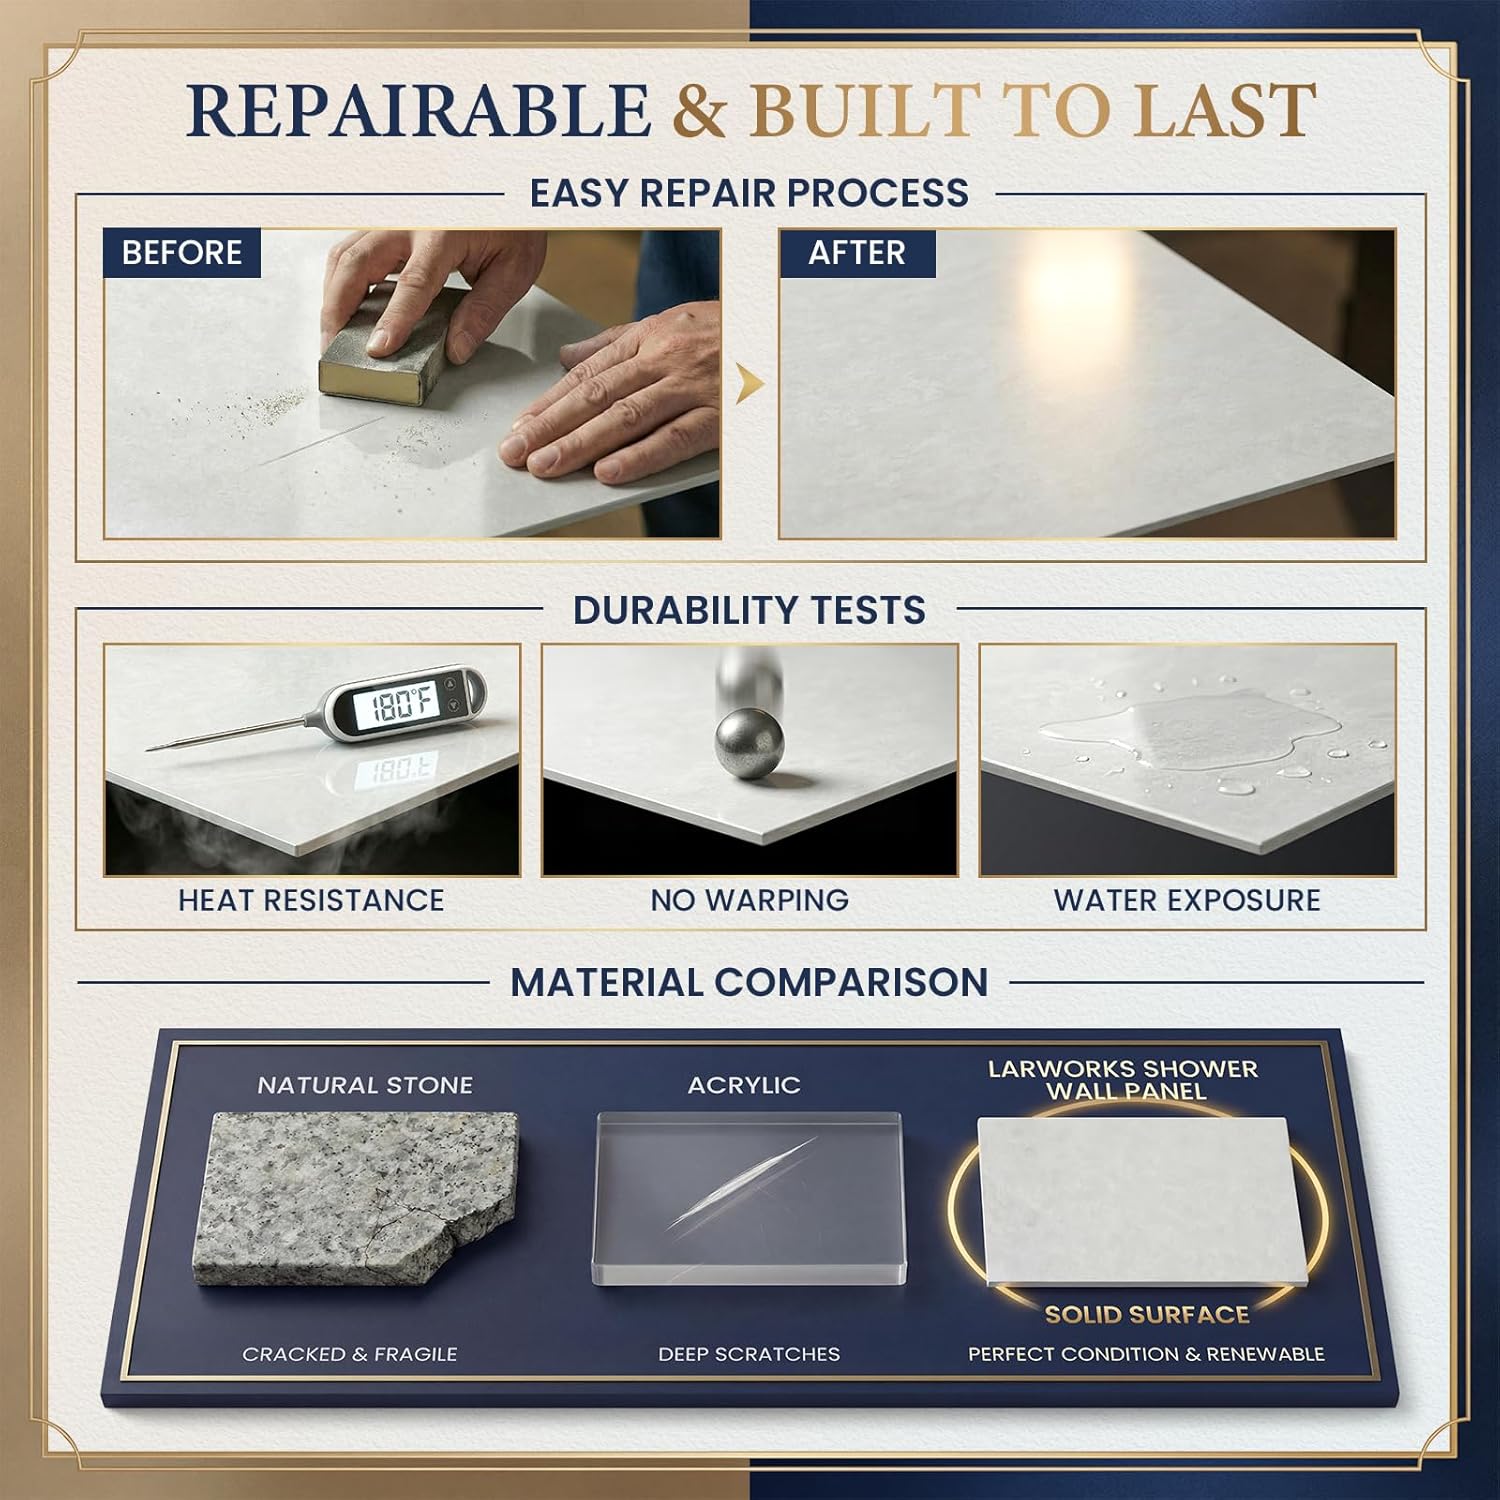
After two months, a hairline crack appeared in the corner of the side panel near the valve cutout. I think I overtightened the valve trim, but it could also be a result of the material being slightly brittle under stress. I sanded the crack with 400-grit and polished it with automotive compound—the repair is invisible. That ability to repair is a big plus. No other issues: no mold, no discoloration, no water infiltration.
| Specification | Value |
|---|---|
| Material | Solid surface (composite resin + minerals) |
| Dimensions | 96″ x 60″ x 36″ (3 panels assembled) |
| Item Weight | 100 kg (220 lbs) |
| Finish | High gloss (Carrara White) |
| Color | White |
| Number of pieces | 3 (back, left, right) |
| Warranty | Limited lifetime (manufacturer) |
| Coverage area | 5760 sq in per panel set |
| What We Evaluated | Score | One-Line Note |
|---|---|---|
| Ease of setup | 3/5 | Needs two people and intermediate tool skills; instructions are thin. |
| Build quality | 4/5 | Solid and heavy; seam requires care, but material feels premium. |
| Day-to-day usability | 5/5 | Wipes clean instantly; no grout to scrub; warm to the touch. |
| Performance vs. claims | 4/5 | Most claims hold up; “easy install” is the biggest stretch. |
| Value for money | 4/5 | $999 is fair for solid surface, but you need extra materials. |
| Repairability | 5/5 | Sand and polish any scratches; that alone justifies the price. |
| Overall | 4/5 | A excellent long-term investment if you are willing to handle the installation quirks. |
The overall score reflects that the product delivers on durability and aesthetics, but the installation demands more skill than advertised. That knocked it from a perfect 5, but for the daily user, it is a strong 4.
| Product | Price | Strongest At | Weakest At | Best For |
|---|---|---|---|---|
| LarWorks | 999USD | Repairability, seamless look, warm touch | Heavy, requires precise install, thin instructions | Homeowners who want a custom look without custom price |
| Bath Planet EZ-Install | ~$850 | Lighter, easier to cut, better instructions | Visible seams, less glossy finish | Budget-conscious DIYers who accept tradeoffs |
| OVE Decors Delano | ~$1100 | Wider size range, integrated shelves | Thicker panels require more planning | Pro remodelers needing flexibility |
If you value a seamless, repairable surface that looks like a solid slab of marble, the LarWorks kit wins. Unlike the Bath Planet panels, which have visible overlapping seams, the LarWorks edge-to-edge bond creates a continuous surface. And the ability to sand out scratches is unique at this price. The warm feel is a genuine comfort upgrade over acrylic.
For a first-time installer or someone who wants a quick weekend project, the Bath Planet EZ-Install is more forgiving. It is lighter, cuts with a utility knife, and the seams are designed to overlap so you do not need perfect alignment. If you have a non-standard alcove width, OVE Decors offers more customization. I would steer a reader toward those if they are not comfortable with precise measuring and heavy lifting.
The right buyer: You are a homeowner who has done at least one bathroom remodel before. You own a circular saw and a level, and you are willing to spend a full weekend on the install. You want a shower surround that will look good for years without the upkeep of grout. You appreciate being able to repair a scratch rather than replace a tile. The LarWorks shower wall panels review honest opinion is that this is for someone who values long-term durability over instant convenience.
The wrong buyer: If you want a peel-and-stick solution or you are on a tight schedule, this is not for you. The panels are heavy, the cutouts demand patience, and the instructions leave gaps. I would recommend a simpler product for a first-timer or a professional installer if you want peace of mind. Do not buy it thinking you will finish in one day.
At $999, the LarWorks kit is priced competitively for a solid-surface surround. Compare that to a custom stone surround that could run $2000+ installed, or to a cheap pressboard panel that will delaminate in two years. For a family shower that gets daily use, the value is good—the repairability alone means you will not replace it in five years. The initial cost is higher than acrylic, but the lifespan makes it cheaper per year.
I bought from Amazon because the seller (LarWorks) is the direct supplier there, and Amazon’s return policy provides safety. The product also ships with free freight. I did not find any price history showing regular discounts; it stays at $999. You might see it as “List Price” elsewhere, but the actual street price is consistent.
What to watch for: Ensure you order the correct size. The 96×60 fits a standard tub alcove 60 inches wide; if your opening is shorter, you may need to trim the side panels significantly. Also, some reviews mention damaged panels in transit—inspect immediately and refuse delivery if damaged.
Price and availability change. Check current figures before deciding.
The manufacturer provides a limited lifetime warranty against manufacturing defects. I have not needed to test it. Online comments suggest that the company is responsive via phone, but replacement panels take a few weeks. The warranty does not cover installation errors, which is a significant exclusion given the difficulty of install.
Yes, for the right person. The solid-surface material costs more than acrylic, but you get stain resistance, repairability, and a high-end look. If you plan to stay in your home for five years or more, the amortized cost is lower than replacing a cheap surround twice.
The Delano offers more size flexibility and built-in shelving, but it is thicker and harder to cut precisely. The LarWorks is easier to repair and has a glossier finish. For a standard alcove, I prefer the LarWorks seam design.
For a first-time installer working alone, plan on two full days: day one for prep and cutting, day two for bonding and finishing. With a helper and experience, it can be done in one long day. I spent about 14 hours total.
You need construction adhesive (PL Premium), a notched trowel for spreading it, a fine-tooth saw blade, silicone caulk, and a caulking gun. I also used a small container of automotive polishing compound for repairs. The LarWorks kit does not include these, so budget an extra $50–$100.
One hairline crack appeared near the valve cutout, which I repaired easily. No other issues. The seams remain watertight. The gloss holds up. No warping or swelling from moisture.
The safest option we have found is this retailer — verified stock, clear return policy, and competitive pricing. Avoid third-party sellers on other platforms with no reviews.
Technically you could, but it is not recommended. The instructions require a clean, flat, moisture-resistant substrate. If you glue to tile, the adhesion may fail, and the added thickness could affect trim clearance. I stripped down to studs and installed backer board.
Soft microfiber cloth and mild dish soap or a non-abrasive bathroom cleaner. Avoid scouring pads. Minor scratches can be sanded out with 600-grit paper and polished with automotive wax.
The ability to sand out a hairline crack sealed the deal in my mind. I have owned tile surrounds that chipped and were impossible to repair without replacing the whole tile. Knowing I can fix damage in 15 minutes gives me confidence that this product will last as long as I own the house.
I recommend the LarWorks shower wall panels for the type of homeowner who does their research and is willing to invest time in the install. It is not a lazy solution, but it is a durable one. If you can handle the weight and the cutting, you will be happy with the result. I would buy it again at this price—but I would also buy an extra tube of adhesive and a helper pizza.
If you have installed this kit, drop your experience in the comments. Did you have the same seam issue? Did you find a better adhesive? I want to hear it. For those ready to start, check the current price here before you buy.
Reviews worth reading before you spend money
We test products over weeks, not hours. No sponsored rankings. No affiliate-first conclusions. Join readers who use our work to make better decisions.